laboratory management
basic concepts
A laboratory, also called in this documentation an activity, is an exercise associated to devices. All devices are configured to the exercise but can be reused to other activities.
Instance management
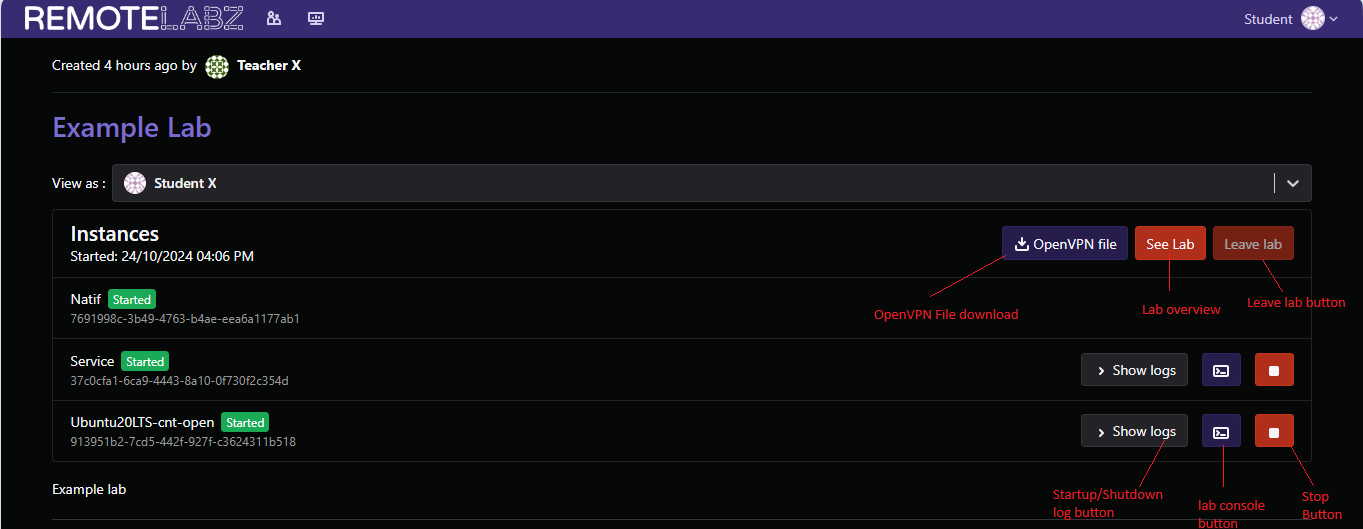
In RemoteLabz, once a student start a laboratory, He can manage the newly created instance and it's associated containers through the laboratory management panel.

This panel allow him to :
- Start/Stop each containers of the lab through the start/stop button
- have direct console access to the containers through the lab console button
- See the startup log for each containers
- leave the lab.Only possible when all containers are stopped.It destroy the instance completely.
- Download the lab's associated OpenVPN file (useful to connect through protocol like SSH for instance)
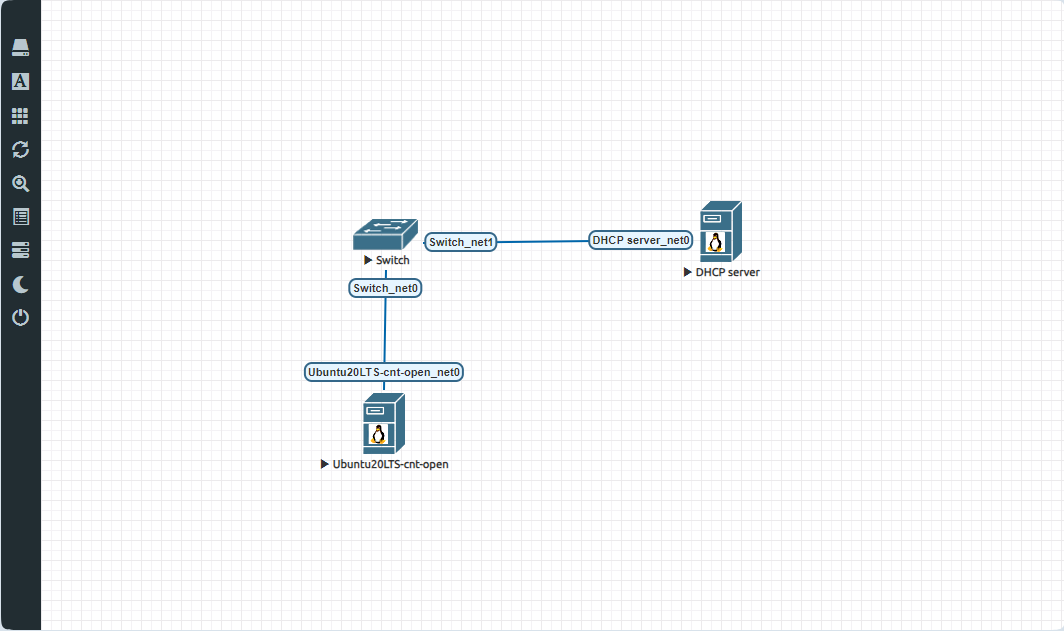
- See the lab topology through the see lab button. This will open the editor panel allowing him to see the lab topology, subject and associated exercises.
Warning
Once the leave lab button has been clicked, it destroy the lab instance erasing ALL MODIFICATIONS on the lab's containers.
lab topology

A laboratory needs basically three elements:
- Your own containers
- A switch to interconnect them
- A service device: It is a container configured with a DHCP server that gives internet addresses to your machines.Always start it first.
You can access to the Subject and lab title through this screen as well.
Warning
Only teachers and administrators can create a laboratory using the "new lab" button.
Remote access.
In order to access to your lab from your workstation (through ssh for instance), you need to connect through RemoteLabz VPN.
To do this, you need to:
- download a client like VPNconnect and then install it.
- click on the OpenVPN file button.An .ovpn file will be downloaded.
- double-click on the downloaded file and VPNConnect will install it automatically.
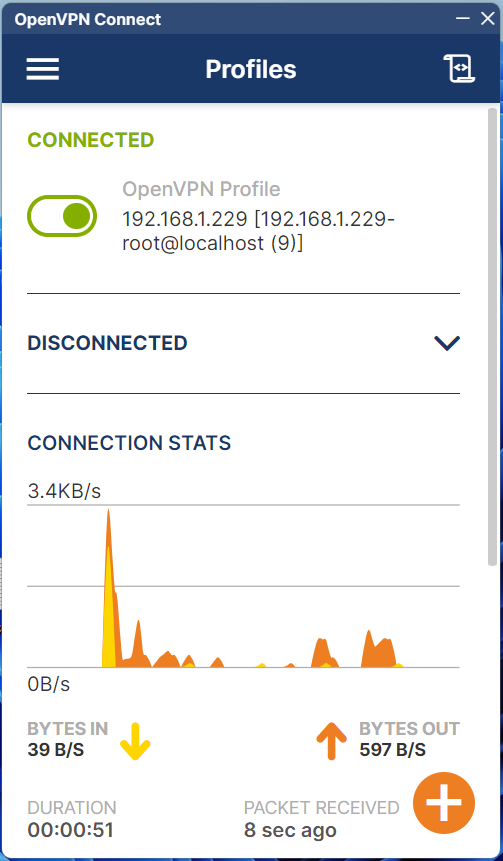
- hit the connect button.
If the client display this, you are connected.
