Teachers lab creation tutorial
A laboratory, also called in this documentation an activity, is an exercise associated to devices. All devices are configured to the exercise but can be reused to other activities. Only teachers and administrators can create a laboratory using "labs" menu.
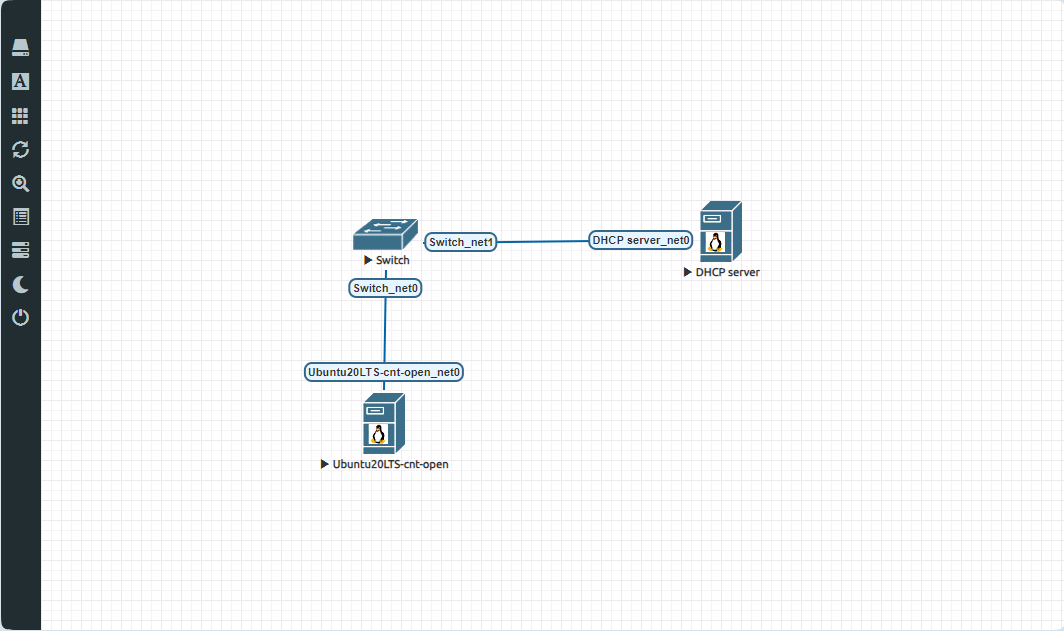
Typical lab topology
When you create a laboratory, you have to add :
- A service container which will give to your lab internet connectivity through a DHCP server.
- Your own container(s).
- A switch container (default name: natif) which will interconnect every containers in a local network.
Here an example of a typical laboratory topology
Creating your first lab
As a administrator,you are able to create new laboratories, groups, containers... Here we will show how to create a simple laboratory.Let's start by clicking on the new lab button.
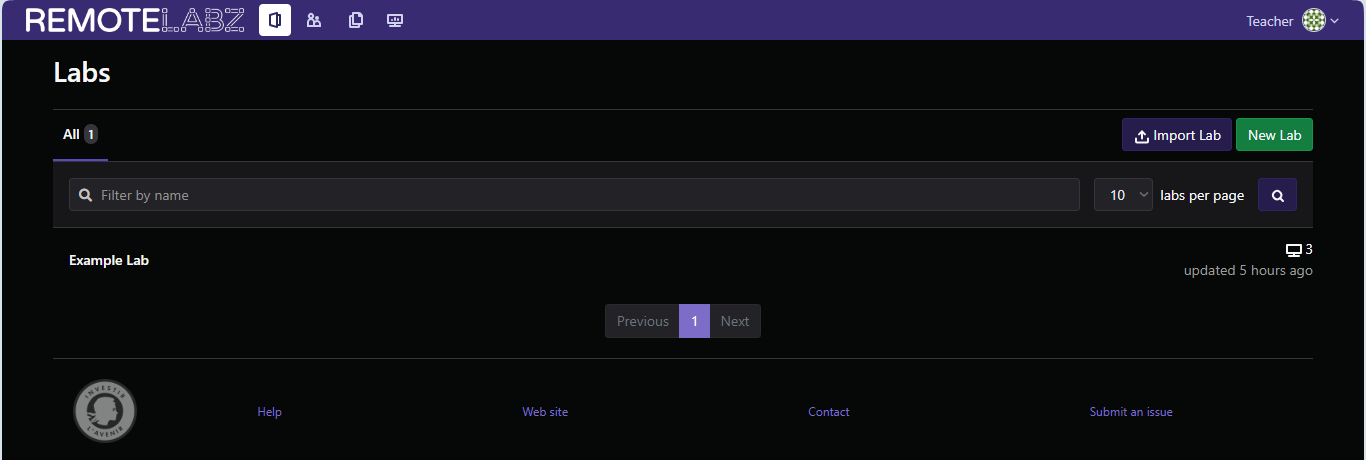
This opens an editor with an empty canvas.Here we will add our first container.
To do this, you will have to click on the left side panel -> add an object (first icon on top) -> add new node.A screen appears, here we will select "Natif".
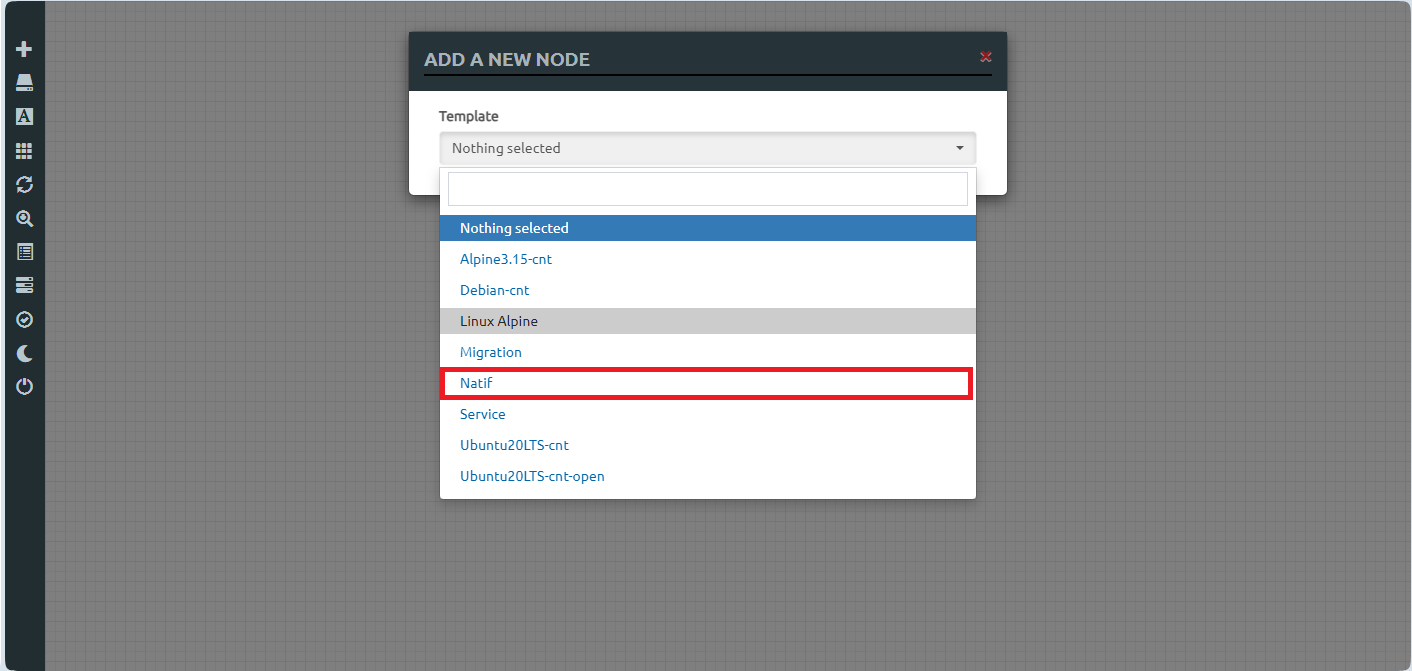
On the next screen, you can specify the container's parameters (such as it's name, number of processor's core, memory and so on).
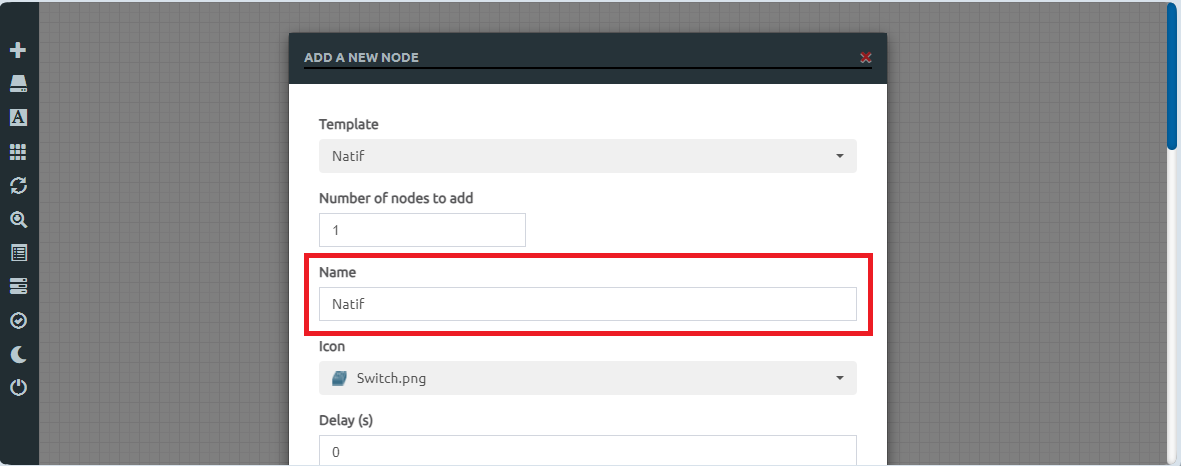
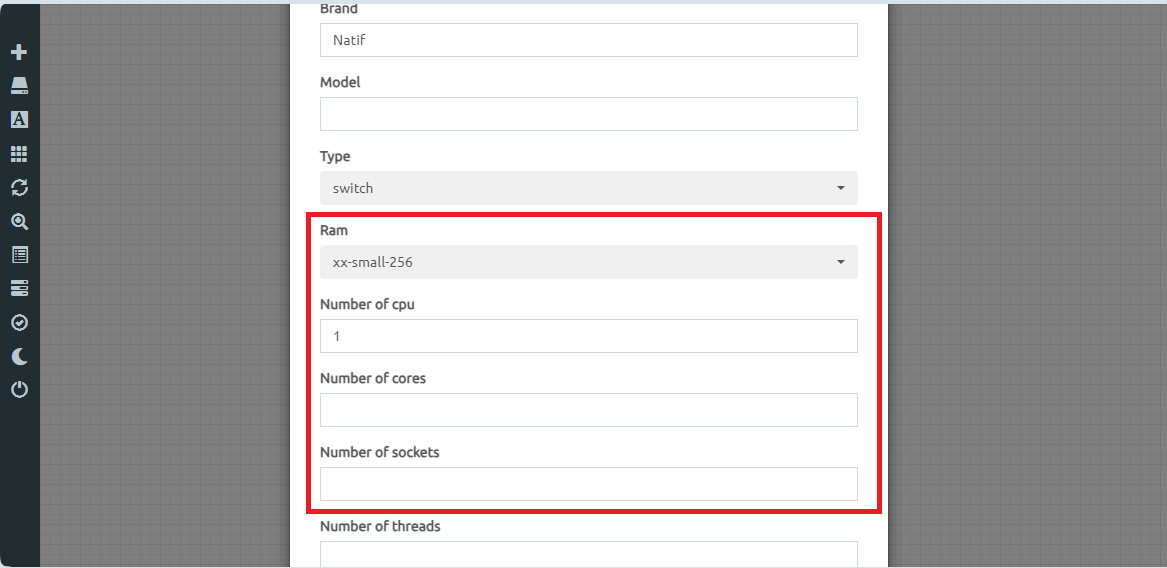
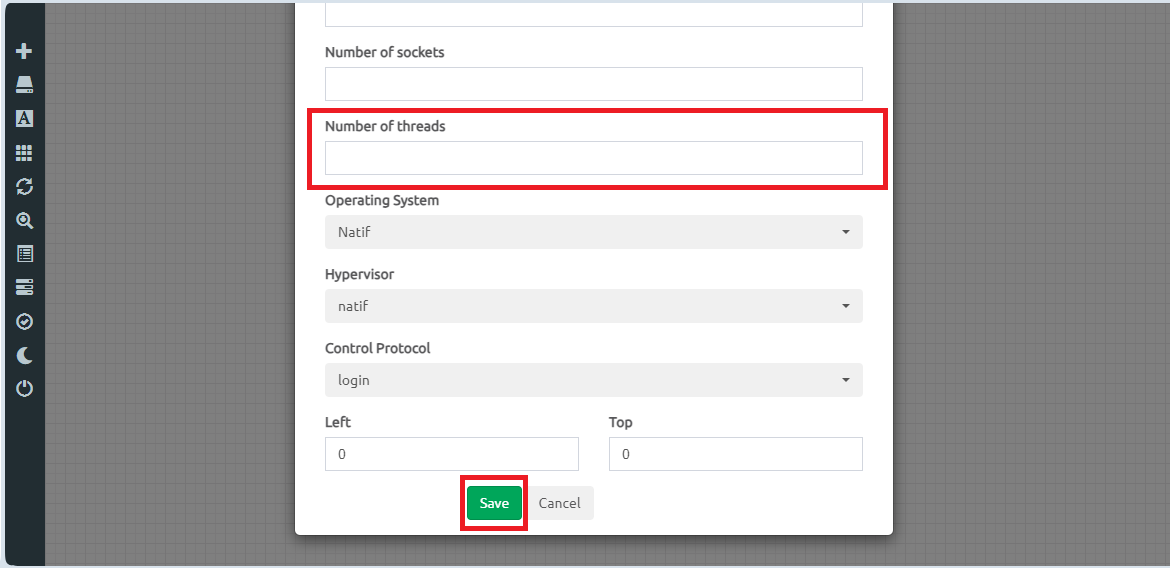
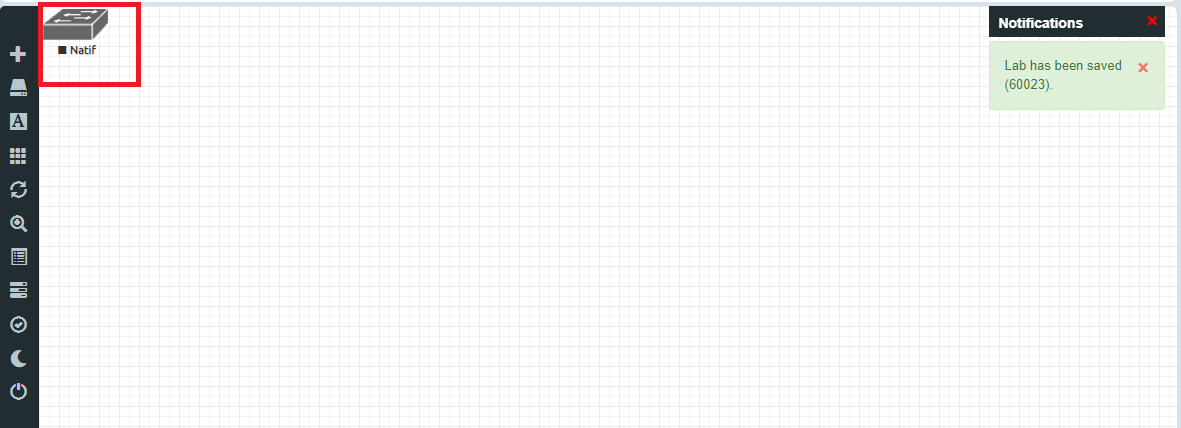
We will leave everything as it is.Once done, click on the save button.When created, the container is automatically created on the top left side of the screen.
We will then repeat the same procedure to add the service container and a ubuntu container.Once added we have to connect these both container on the switch (Natif).To do this, hover on a container.A plug icon should appear.Click on it and wire it to the one called "Natif"

A new screen should appear.Put new connection on both and save
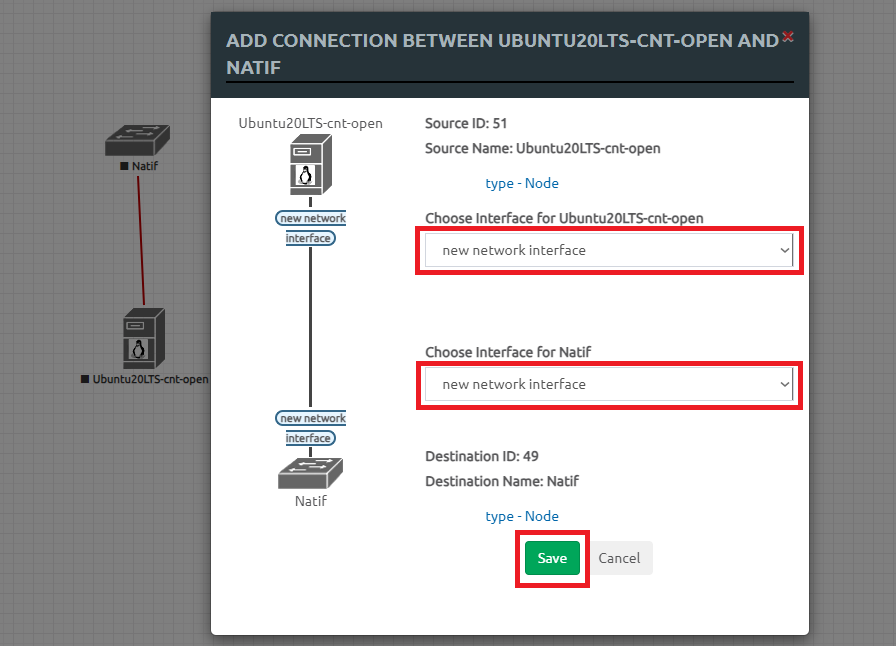
This will add a new connection between these two containers.Repeat the same process for each remaining containers.In the end, the laboratory should look like this.

The laboratory is created and ready to be tested
Title and practical subject
Prior to testing, let's change the title, and the TP subject.To do this there is a menu accessible on the left side panel.
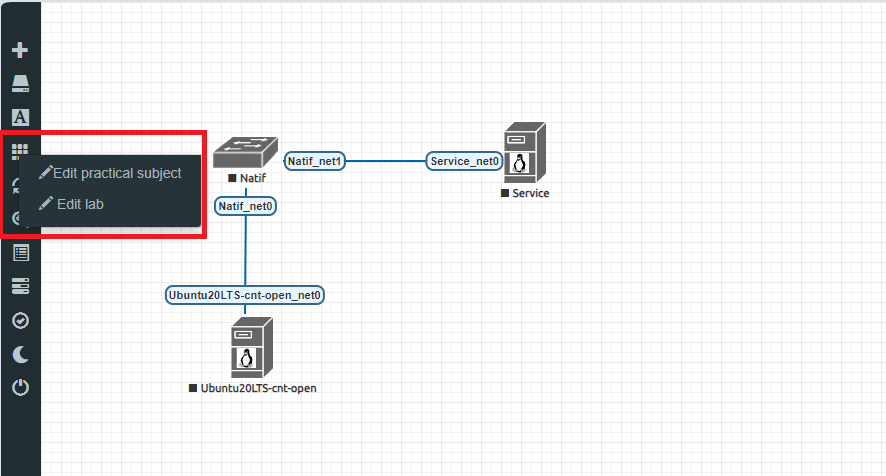
Title and image caption
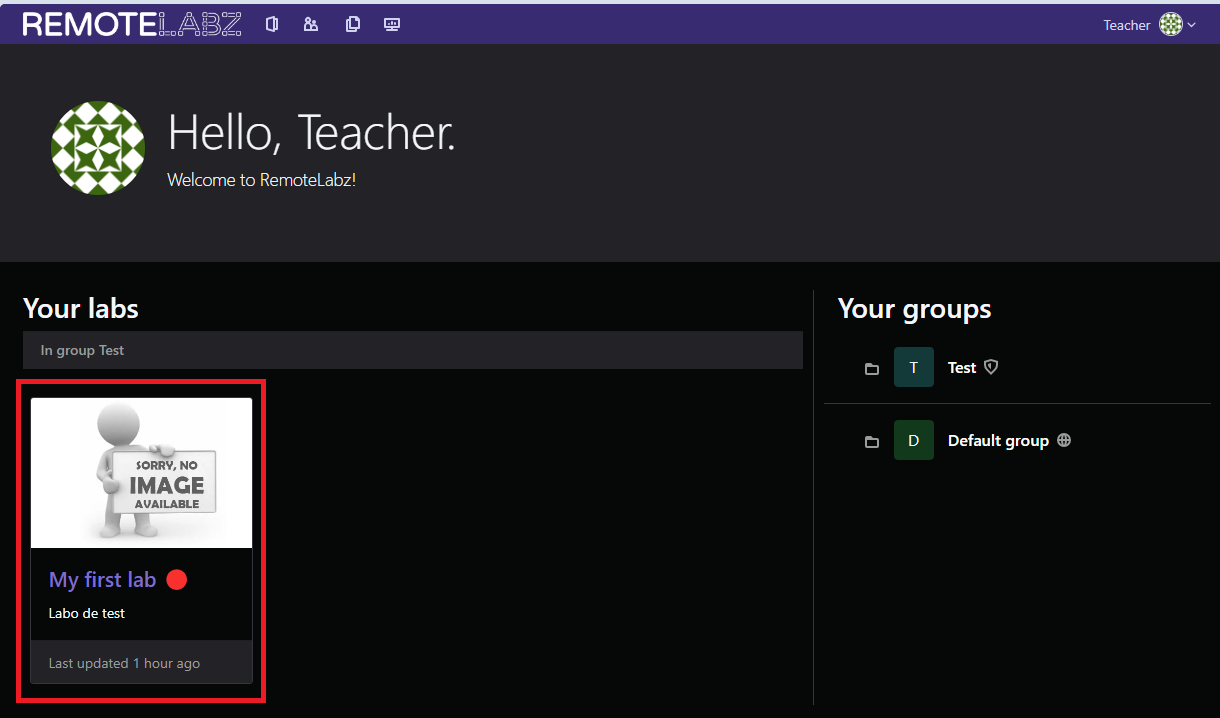
From this menu you can add an image and change the title of the lab.These elements are present in the lab's thumbnail.
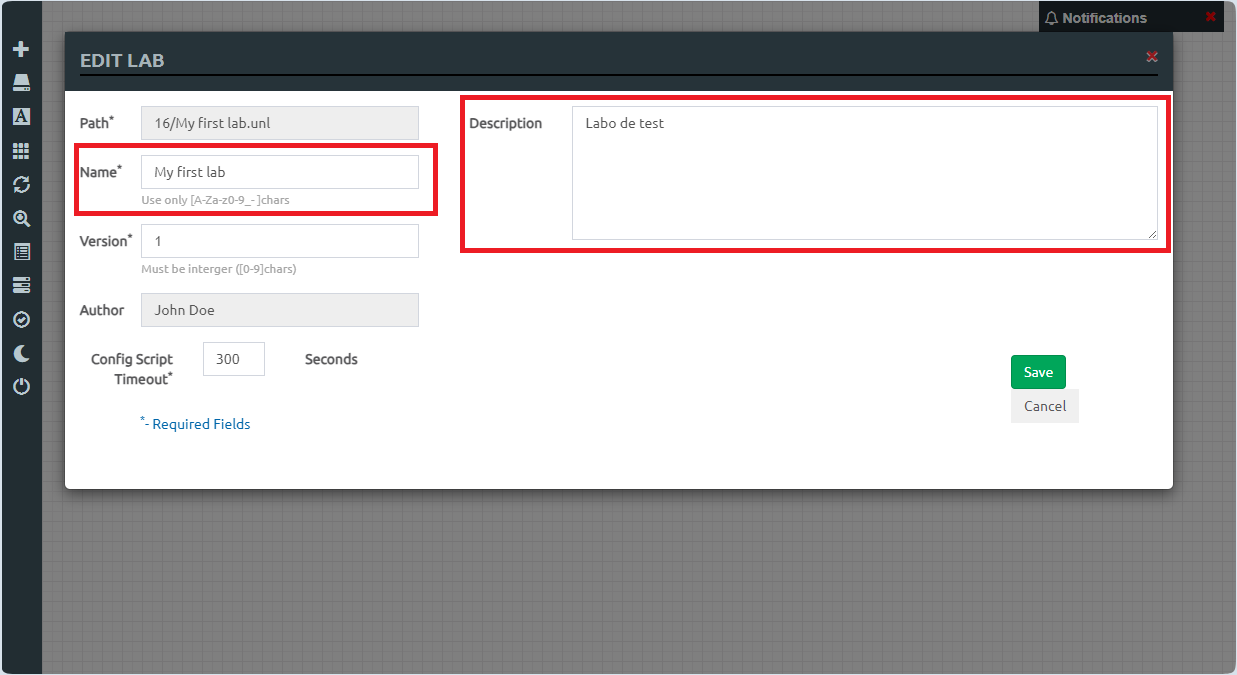 The results can be previewed here
 And once added in a group
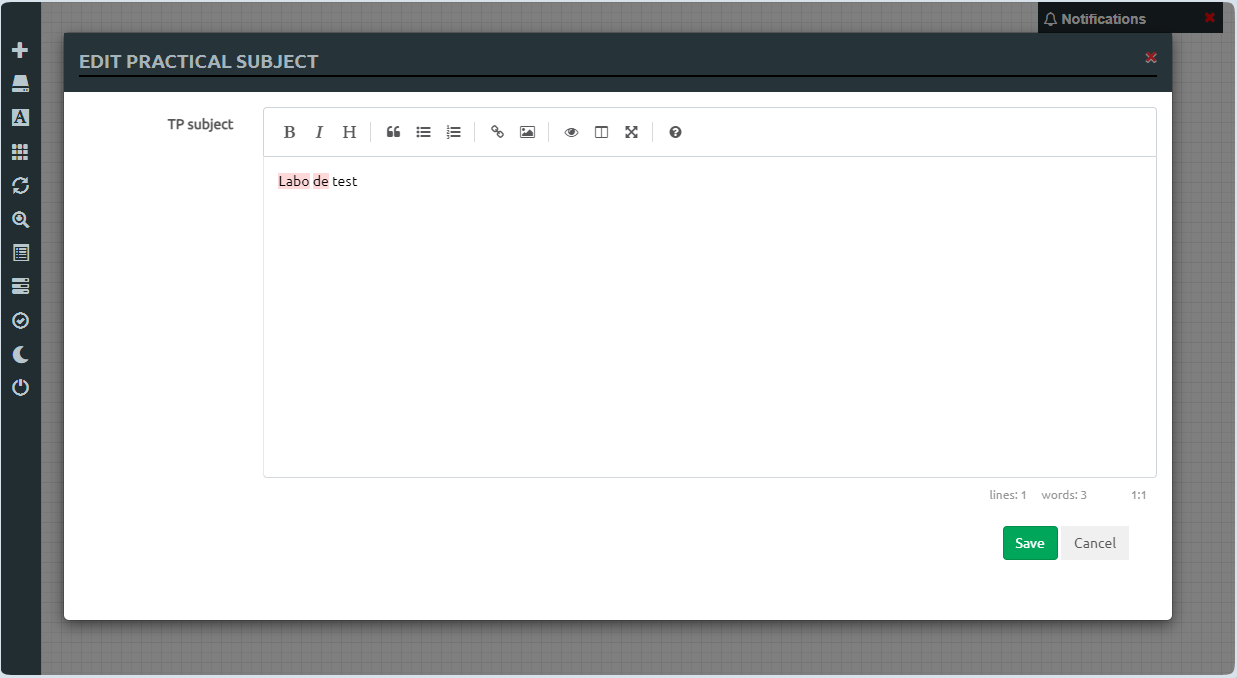
TP subject
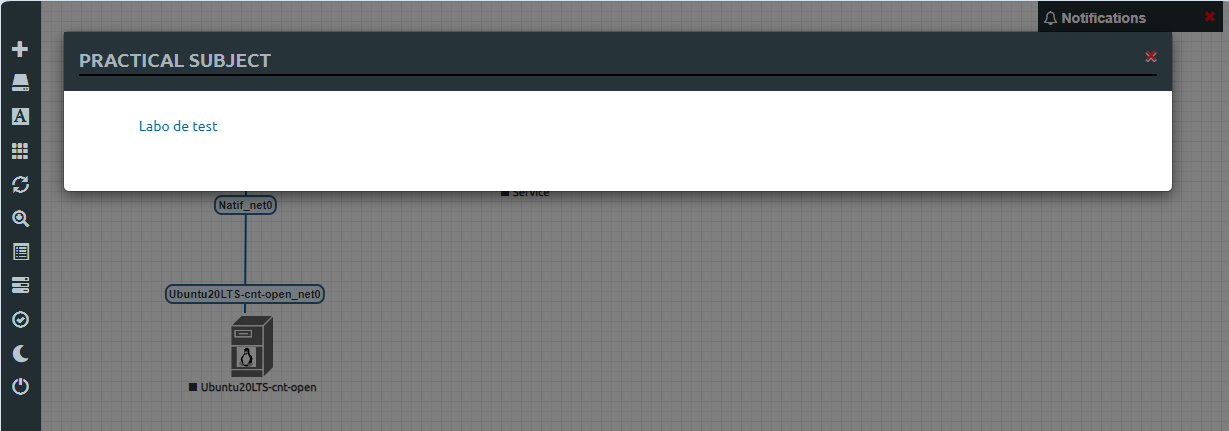
There you can change the Lab TP subject.Links, image ,lists can also be added.
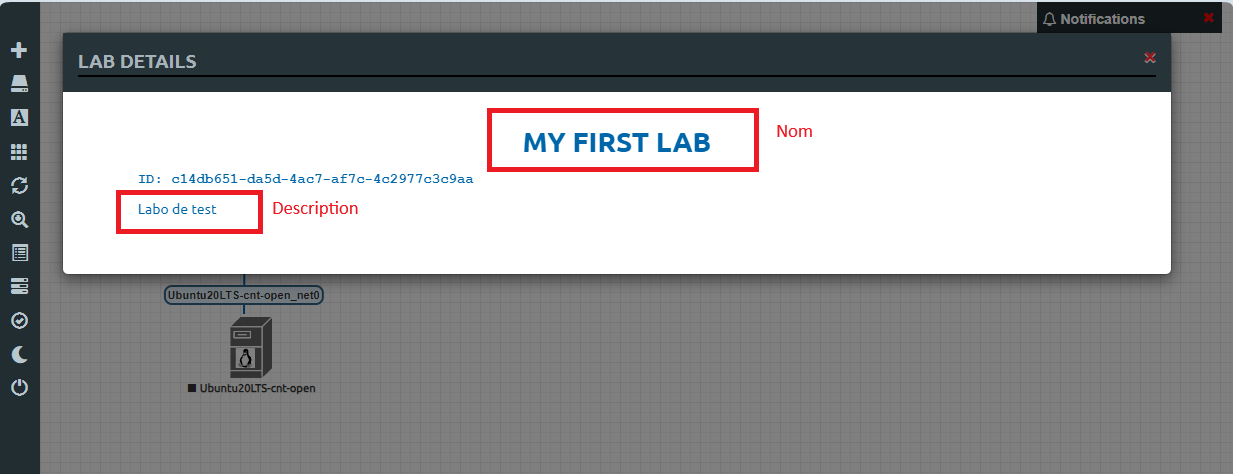
 The results can be previewed here
Testing the Lab
At first, close the lab.You will see the newly created lab on your logging screen.Click on the link and then join the lab.Once done, you will see a list of the lab's container.
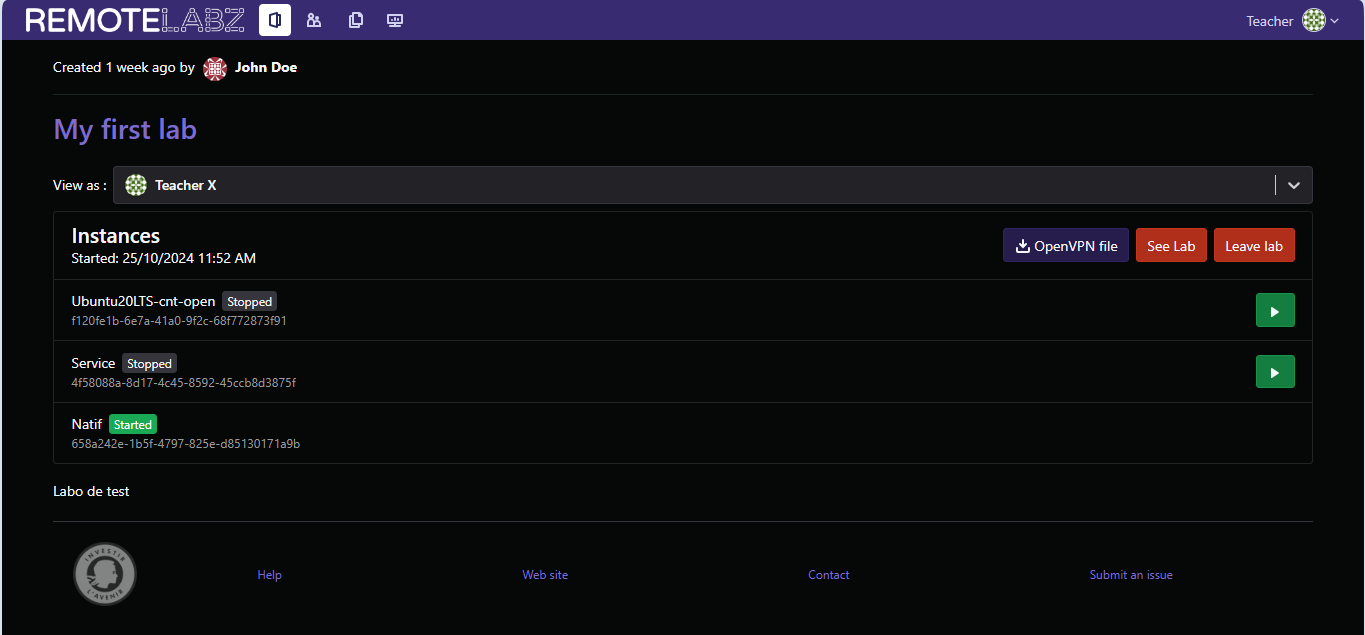 You can start one by using the green arrow on the right side of the list.First, start the Service container, then the ubuntu container.
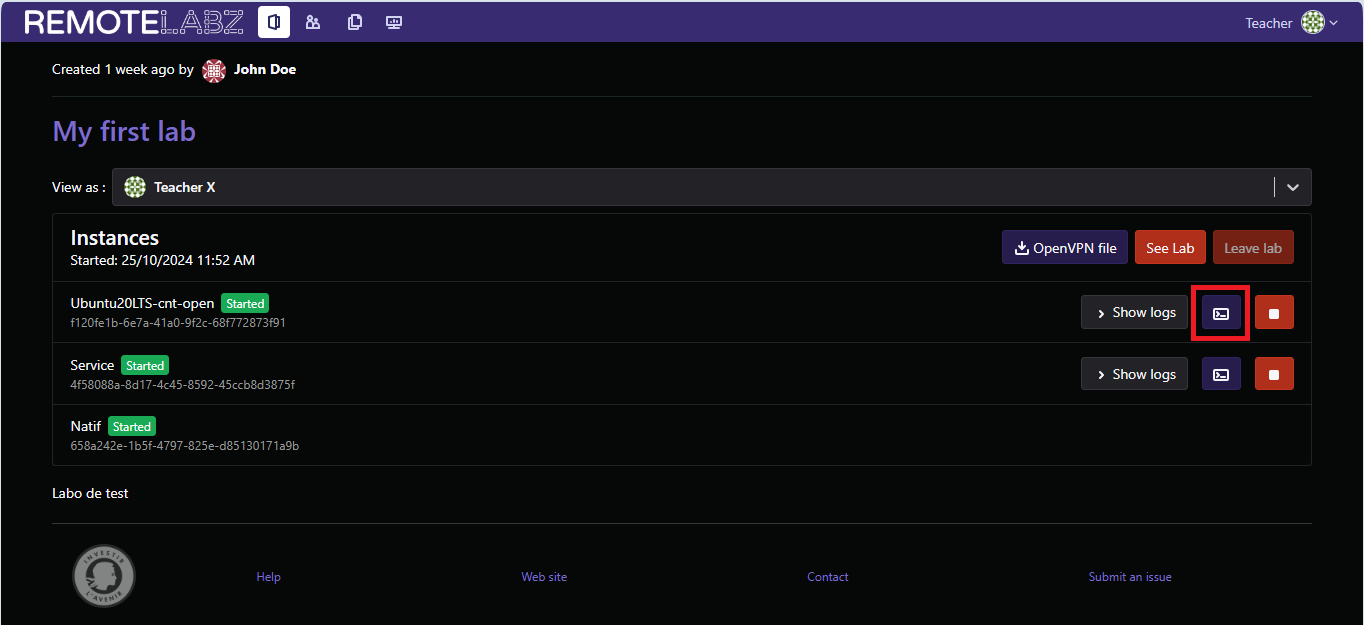
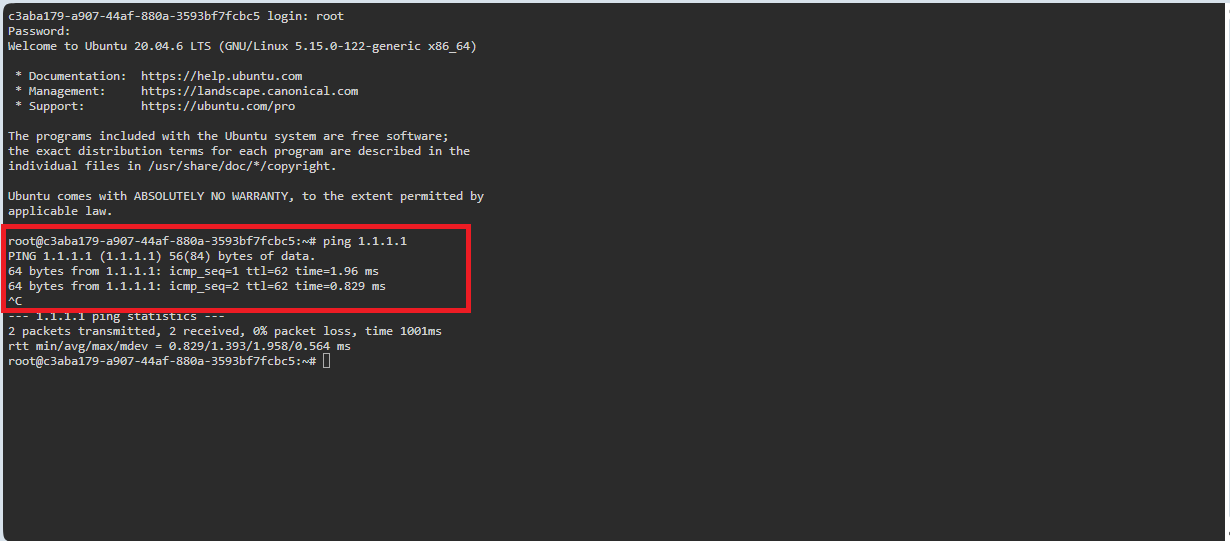
Then click on the console icon on the ubuntu container.Then on open terminal and finally you will land on the container's console.There you can ping google DNS 1.1.1.1 if you got a response then the DHCP server is working and the lab is fully functional.
