Laboratory creation
A laboratory is an exercise associated with devices. All devices are configured for the exercise, but they can be reused for other activities. Only teachers and administrators can create a laboratory using the Labs menu.
Lab creation
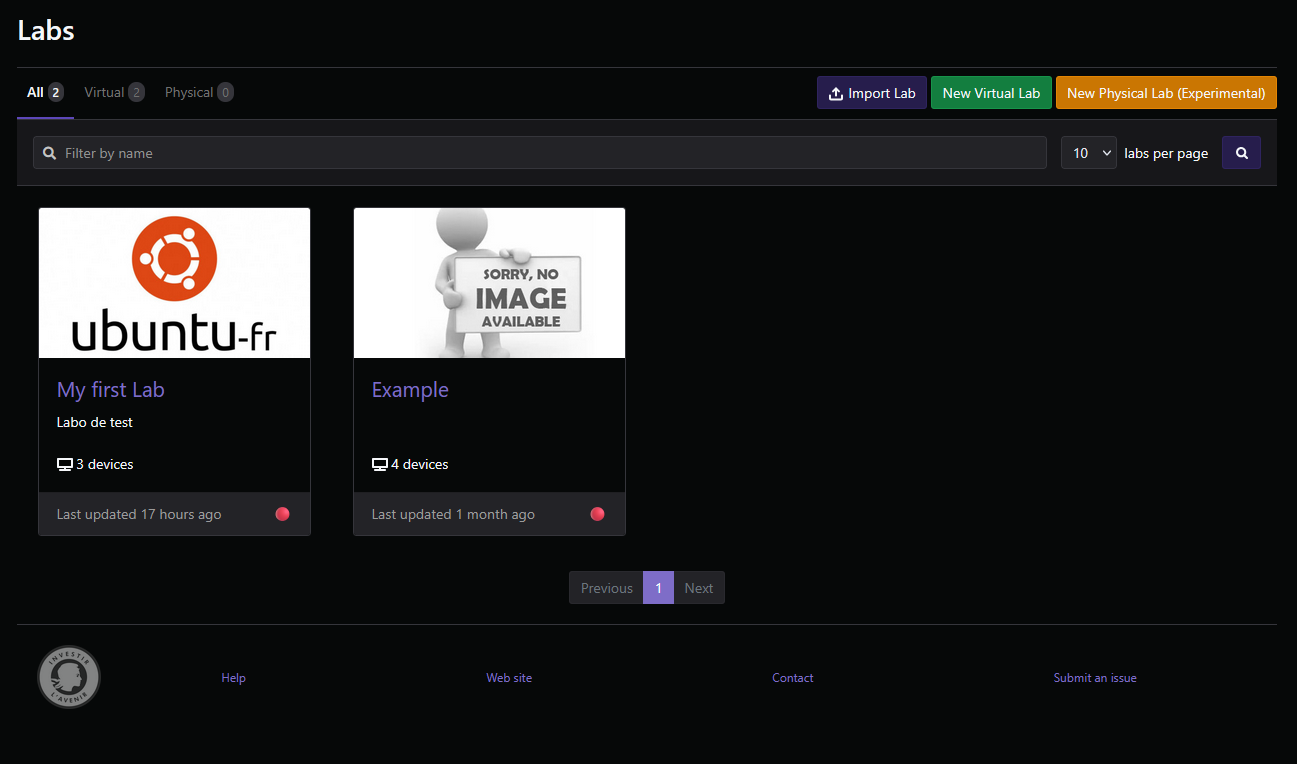
To create a lab, first go to the Labs tab in the top left corner. Here, you have all the labs that you have created.
You'll find the New Virtual Lab and New Physical Lab buttons in the top right corner. Choose the one that best suits your needs.
Virtual lab
When you click on New Virtual Lab, it opens an editor with an empty canvas. You arrive at the page where you build the lab's topology.
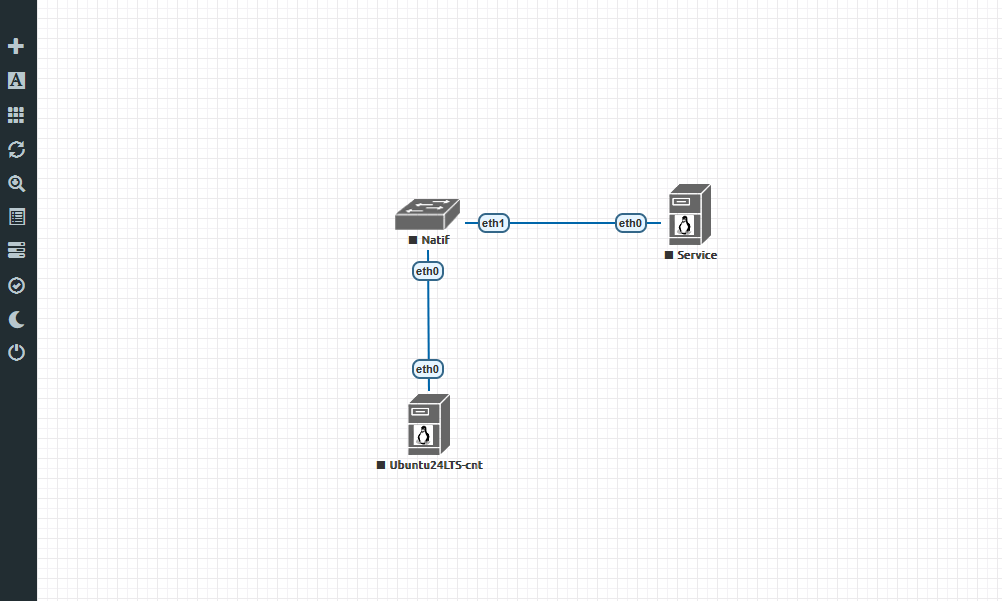
In the sidebar on the left, you have several options. To create a virtual laboratory, you will need:
- Service Container: to give your lab internet connectivity through a DHCP server.
- Switch Container: to interconnect all the containers in a local network.
- Containers: your own containers that you want to use.
Add an object
Let's start by adding containers to our topology. In the sidebar on the left, we have the first option named Add object, with which we have:
- Node: add a container, the one you want.
- Custom Shape: add various shapes, with a wide range of colors and borders.
- Text: add text on your topology.
In the second position of the sidebar, we also have Configured Objects:
- Configured Objects: view all custom shapes in your topology. You can delete them from this window.
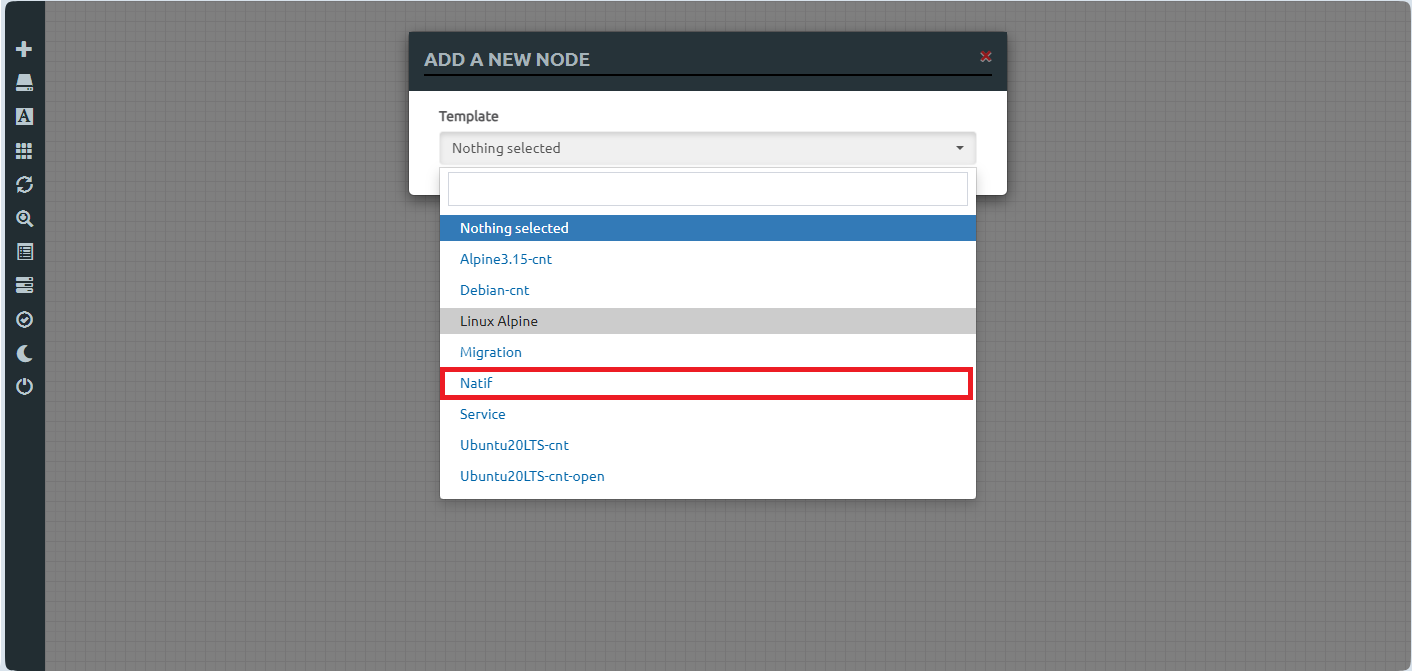
To add our container, we should click on Add an object → Node. A drop-down menu with all the containers will appear. Select the one you need. For this example, we choose Natif.
On the next screen, you can specify the container's parameters, such as the name, the number of processor cores, the memory, and so on.
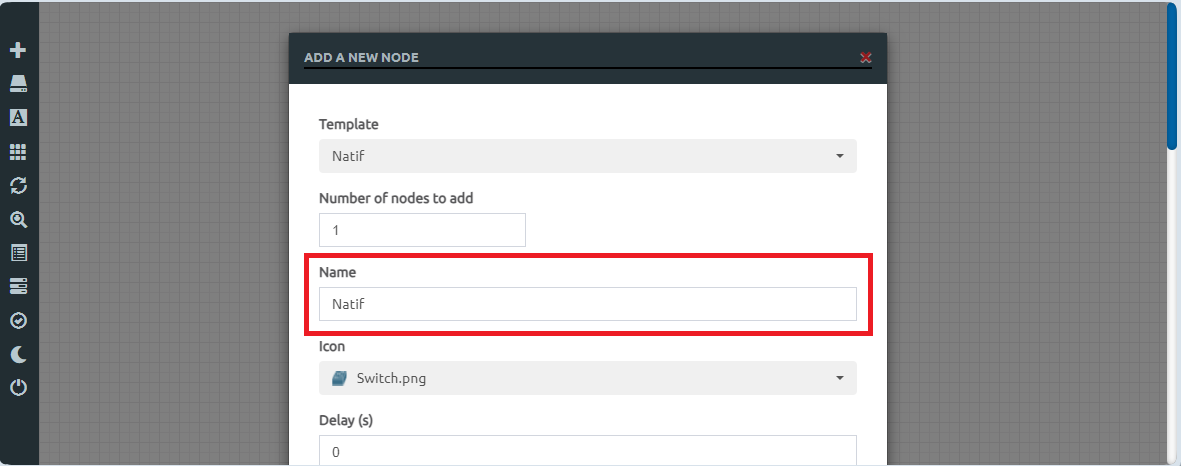
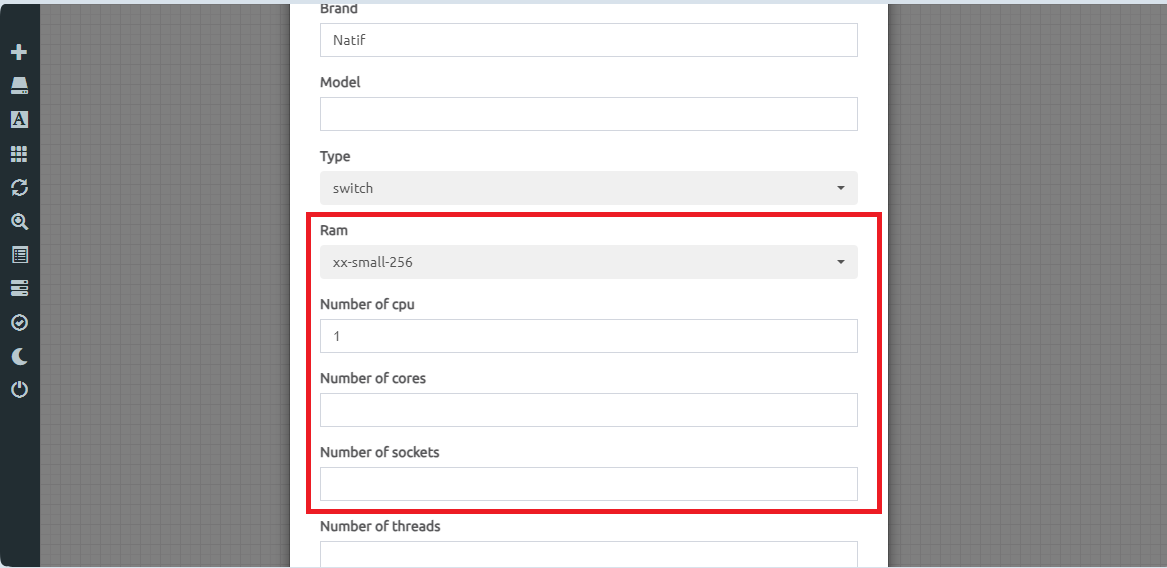
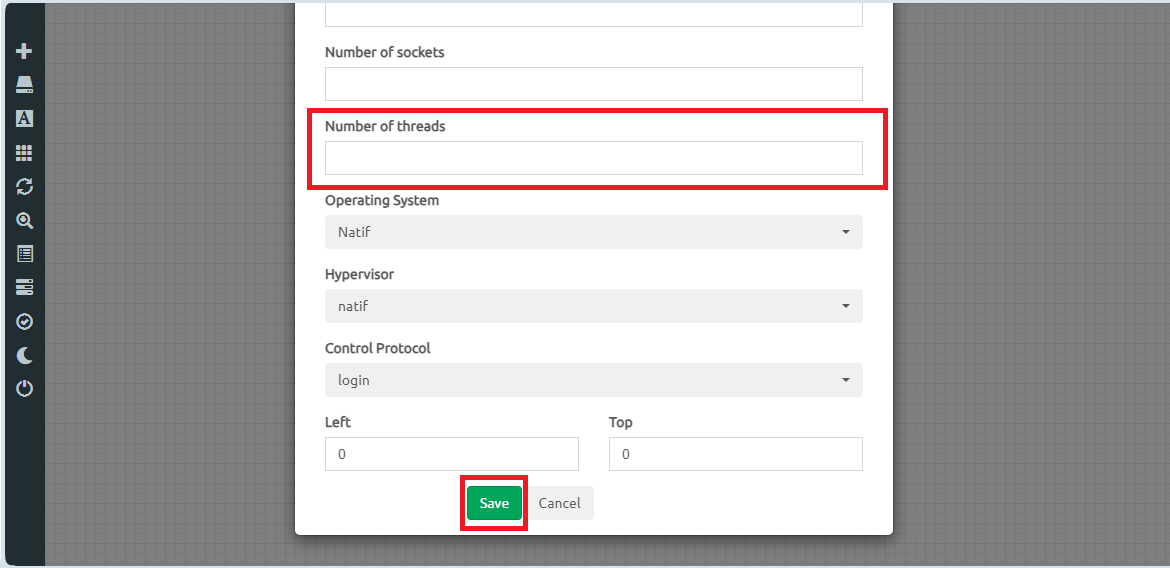
Once done, click on the Save button. The container will be created and will appear on the top left side of the screen.
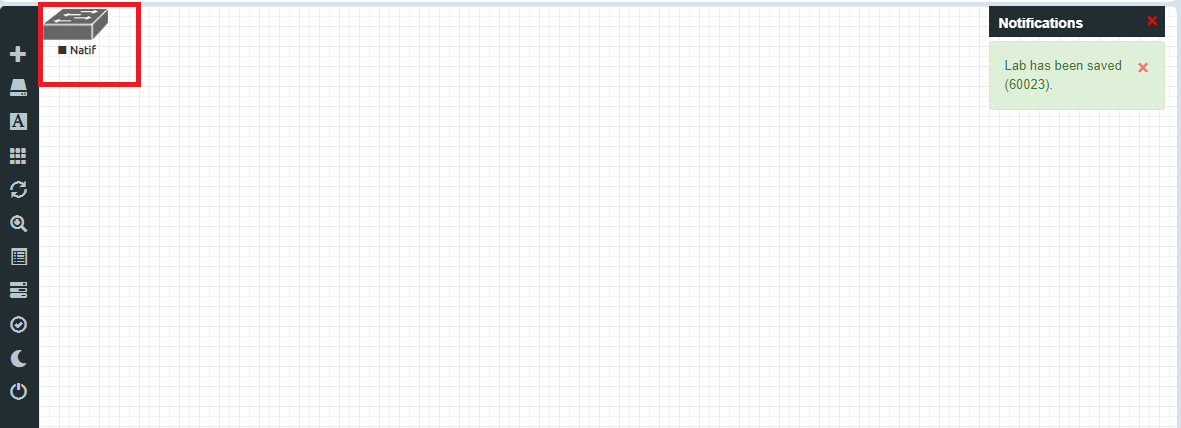
To continue our example, we will then repeat the same procedure to add the service container and an Ubuntu container.
Once added, we have to connect these containers to the switch. To achieve this, hover over a container and a plug icon will appear. Click and hold on it, then drag it to the container called "Natif".
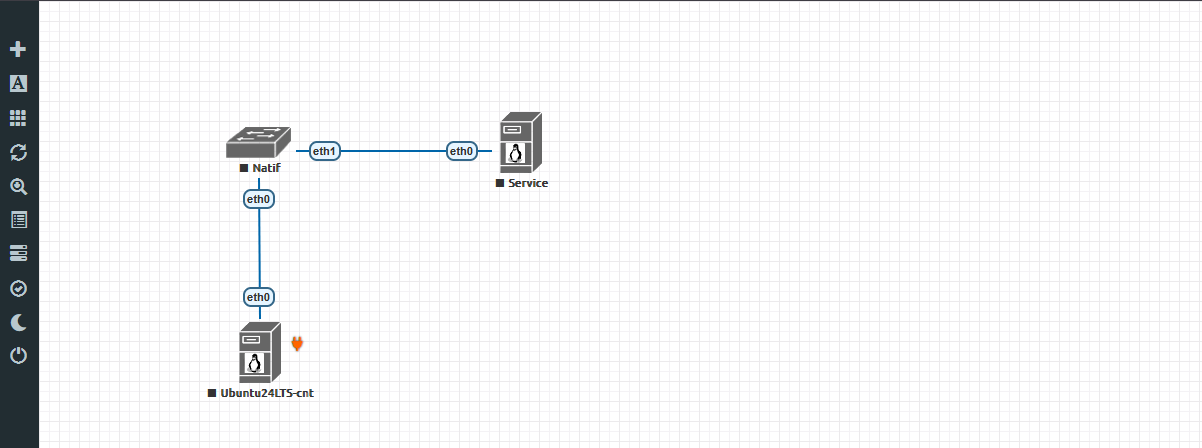
A new screen will show up. Add a new network interface on both sides and save.
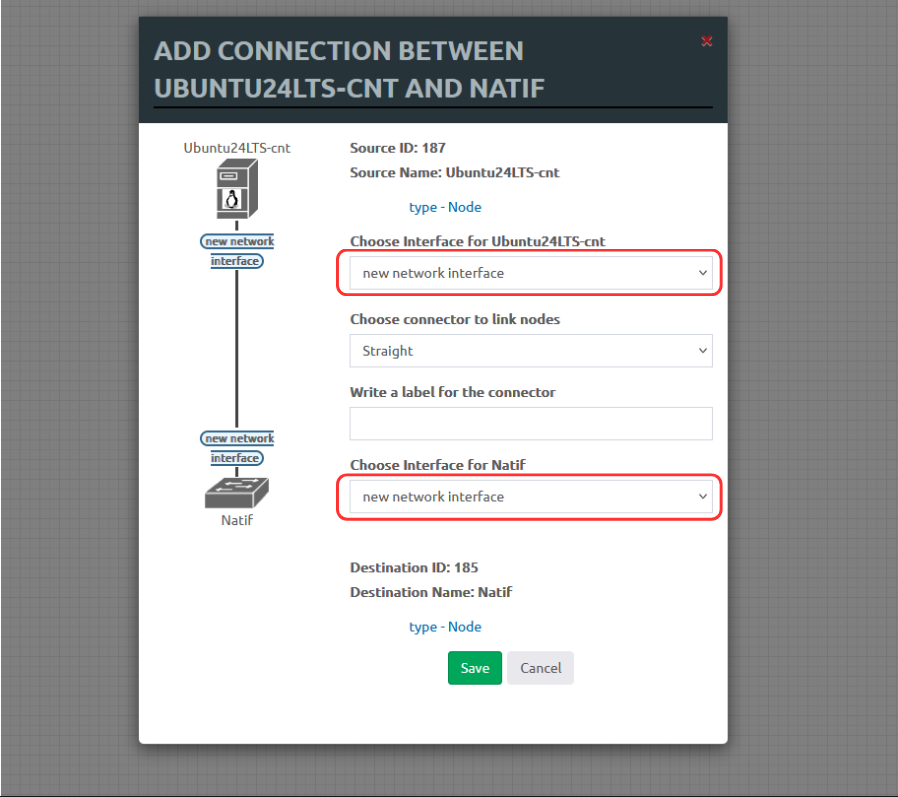
This will add a new connection between these two containers. Repeat the same process for each remaining container. In the end, the laboratory should look like this.
The laboratory is created and ready to be tested.
Lab information and practical subject
Prior to testing, let's change the title and the practical subject. To do this, on the sidebar we have the More Actions option with:
- Edit Practical Subject: in this section, we add the lab practical subject. We have a Markdown text editor which will allow us to structure it.
- Edit Lab: in this window, it is possible to change the title of the lab, its version, its description, the display image and finally the timer which limits the time allotted to the use of this lab.
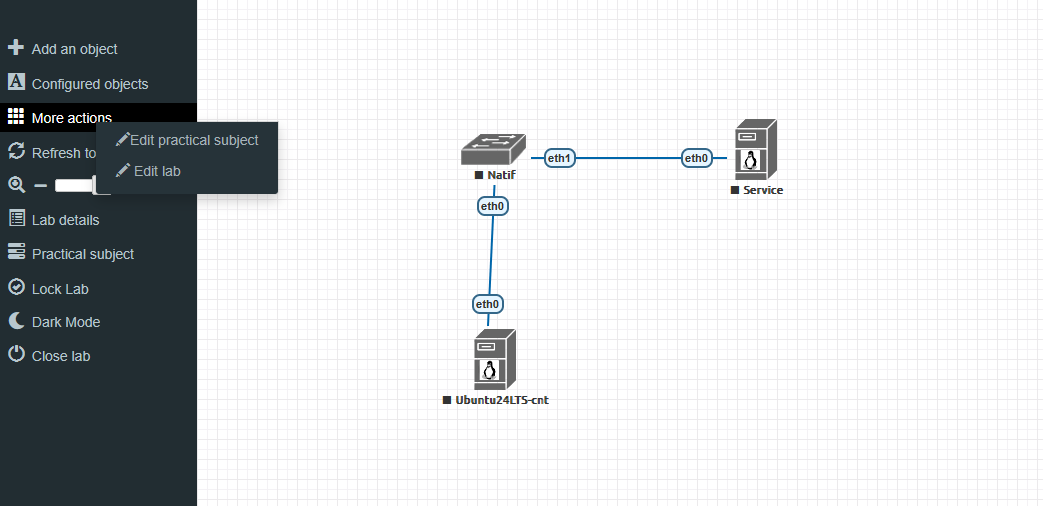
Lab edition
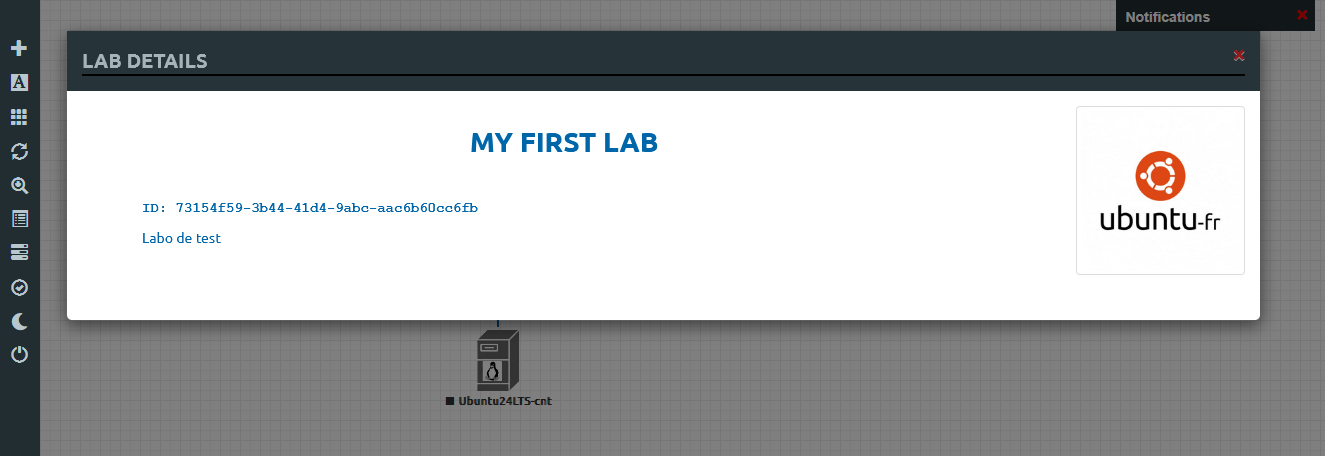
To change the title, we click on More Actions → Edit Lab.
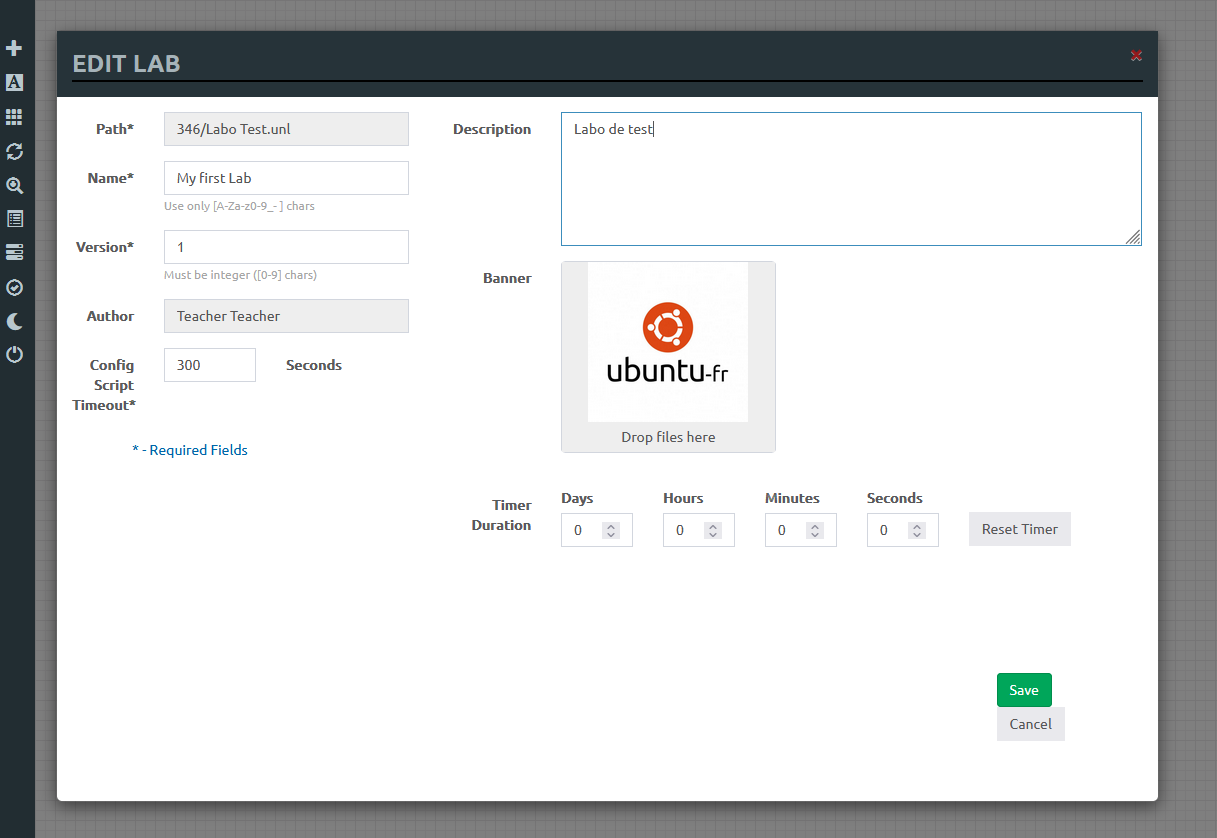
From this menu, you can add an image and change the title of the lab. You can also set a timer. Some of these elements will be displayed in the lab's thumbnail.
The result can be previewed in the sidebar option Lab Details.
Practical subject edition
To add a practical subject, we click on More Actions → Edit Practical Subject.
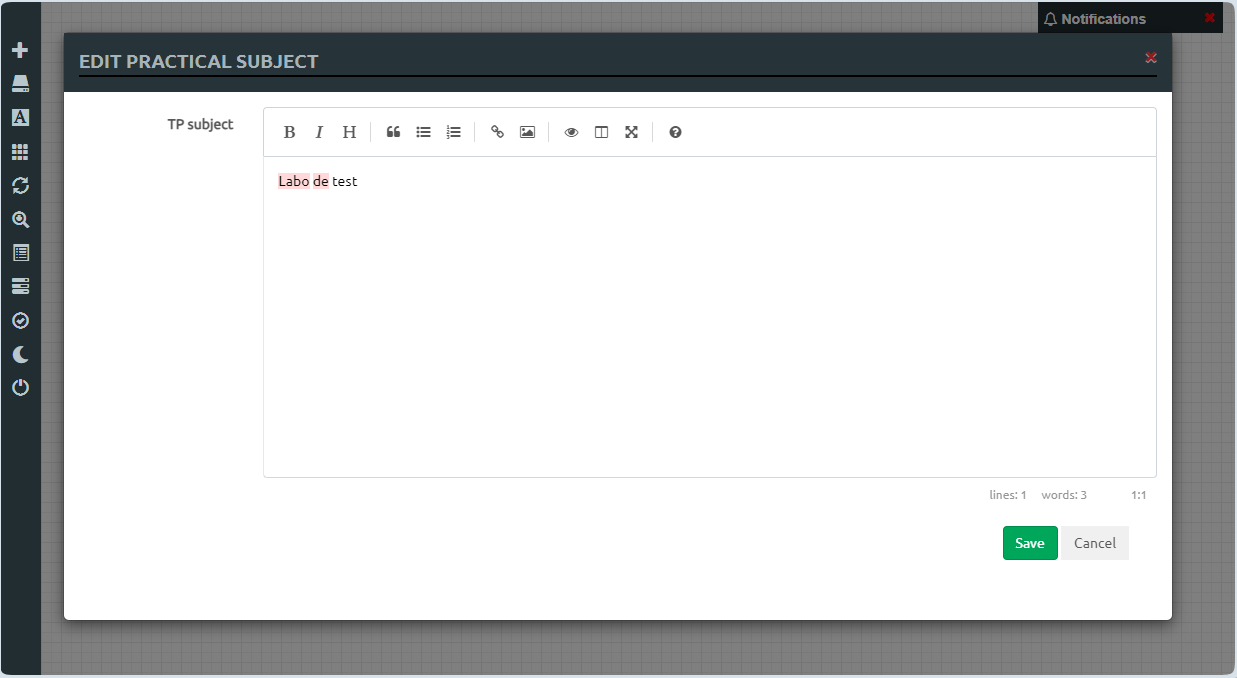
The subject can be edited via a Markdown editor. Links, images and lists can also be added.
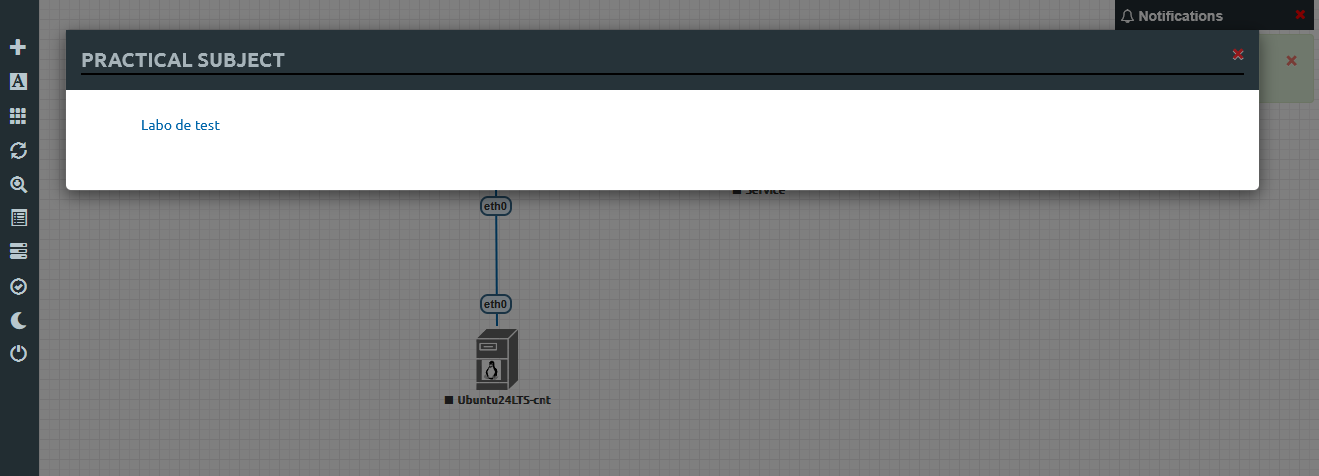
The result can be previewed in the sidebar option Practical Subject.
Testing the lab
Close the lab by clicking Close lab in the sidebar. The newly created lab will then appear, and you can join it. Click on the Join lab button. This will create an instance of your lab. Once done, you will see the list of containers associated with your instance.
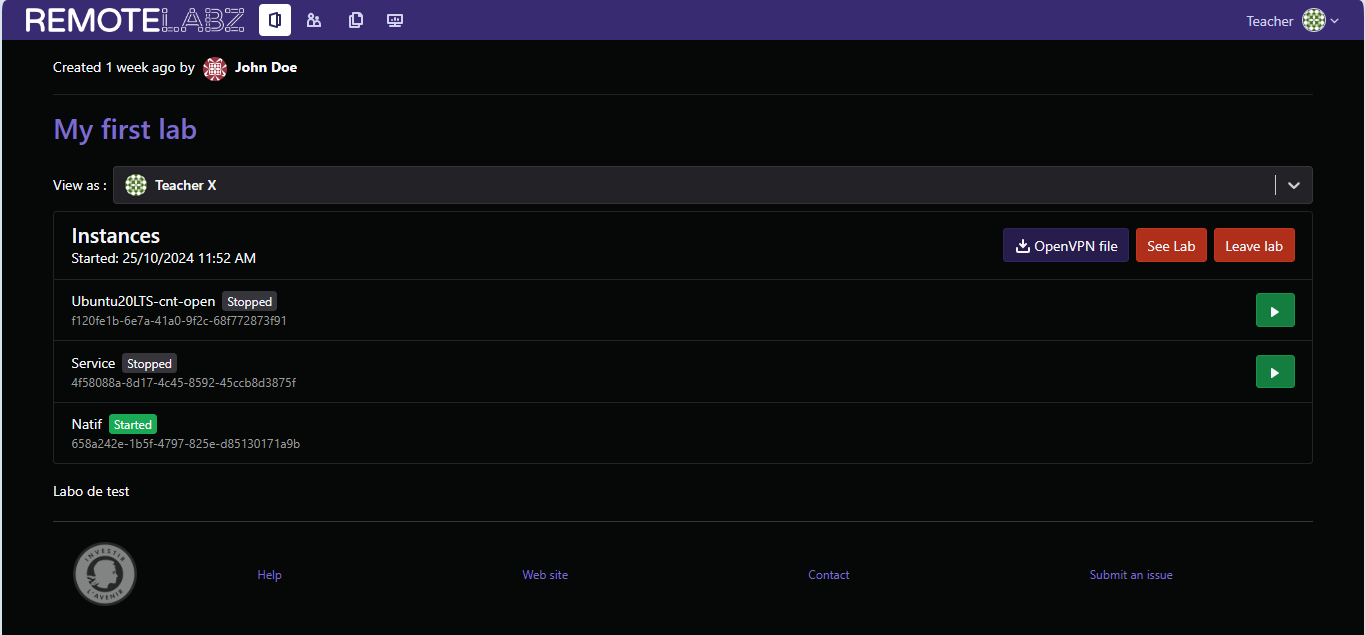
You can start a container by using the green arrow on the right side of the list.
- First, start the Service container.
- Next, start the Ubuntu container.
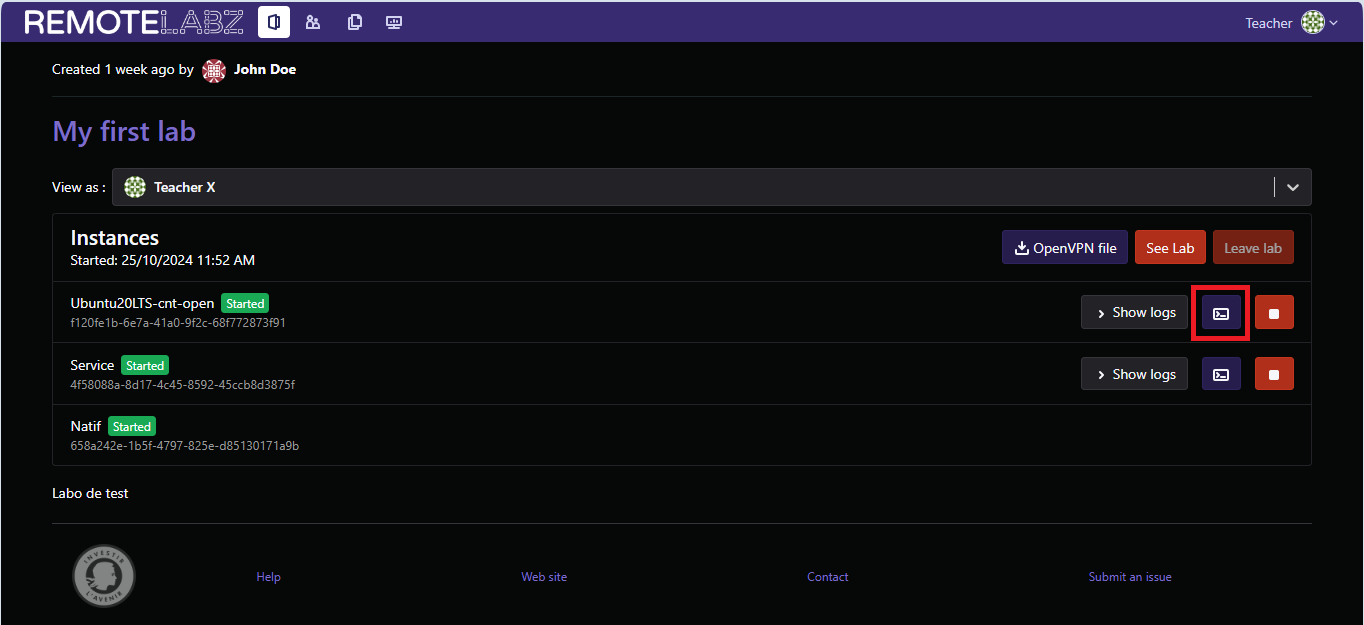
Click on the console icon on the Ubuntu container. Then, open terminal and finally you will land on the container's console.
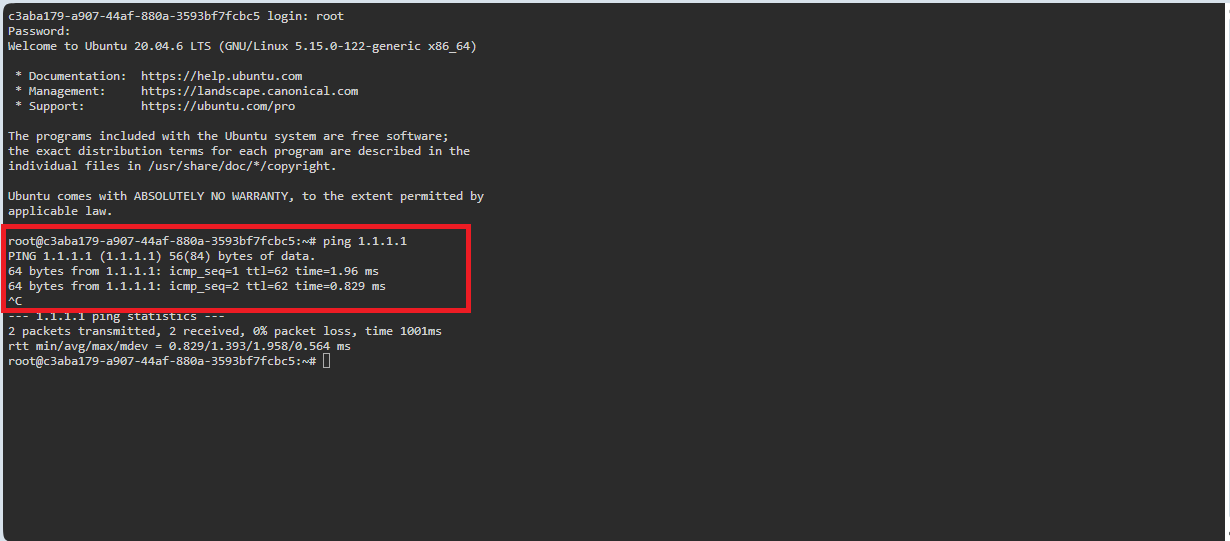
There you can ping the Google DNS 1.1.1.1. If you get a response, it means that the DHCP server is working and the lab is fully functional.